Fashion designclothink
How to Draw Fashion Flats: Front and Back Technical Sketches
- Fashion tech
- Software
Updated 13 November 2026.
A fashion flat is the plain line drawing of a garment, drawn as if it were laid flat on a table. It is the drawing a factory reads first. It shows the seams, pockets, closures and stitching, front and back, with no model and no shading.
This guide shows how to draw one step by step, what goes on the front and back views, and three ways to make a flat: by hand, in vector software or with AI. You’ll also learn how to check a flat before using it in a tech pack, compare AI drawing tools and see when an SVG with real lines is useful.
Disclosure: clothink publishes this guide and is one of the tools mentioned. Details of the other tools come from their own websites, checked on 13 November 2026.
What are fashion flats?
The Fashion Institute of Technology’s library describes flats as “specialized two-dimensional drawings, drawn to scale, that may show design details” that “include sewing and construction information” (FIT library guide). You will also hear them called technical flats, flat sketches, tech sketches or CADs.
Although technical flats are sometimes described as being drawn to scale, they are generally used to communicate consistent garment proportions rather than exact dimensions. The measurements a factory needs are specified separately, in the size chart.
A flat is not a fashion illustration. The two do different jobs:
- A fashion illustration shows the garment on a figure, with a pose and a mood. It sells the idea.
- A flat shows the garment on its own, flat and in proportion. It explains how the garment is made.
- A coloured flat is the same drawing filled with the garment’s colours. It is useful for colourways and line sheets.
Factories, pattern cutters and sample rooms work from the flat. It is also the drawing at the centre of a tech pack, where numbered call outs point to each detail.
What a good flat shows
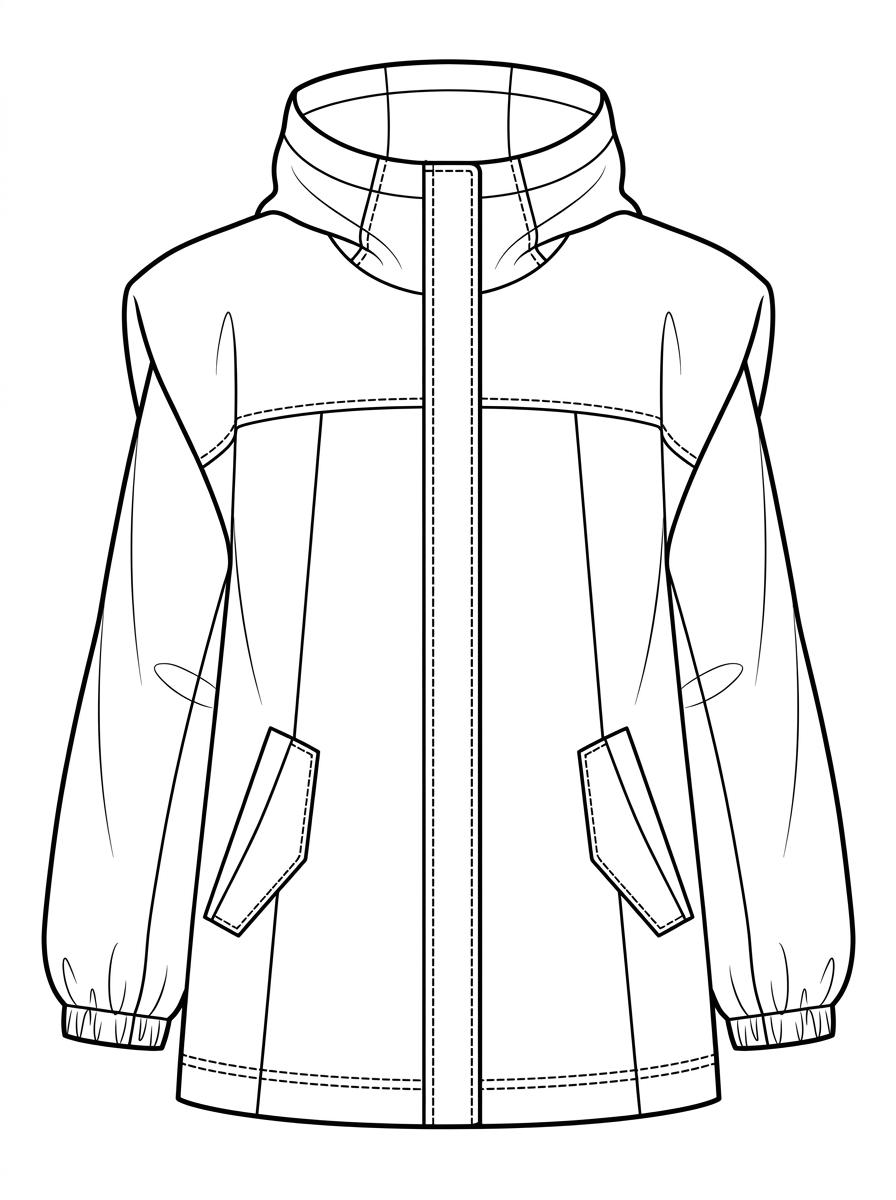
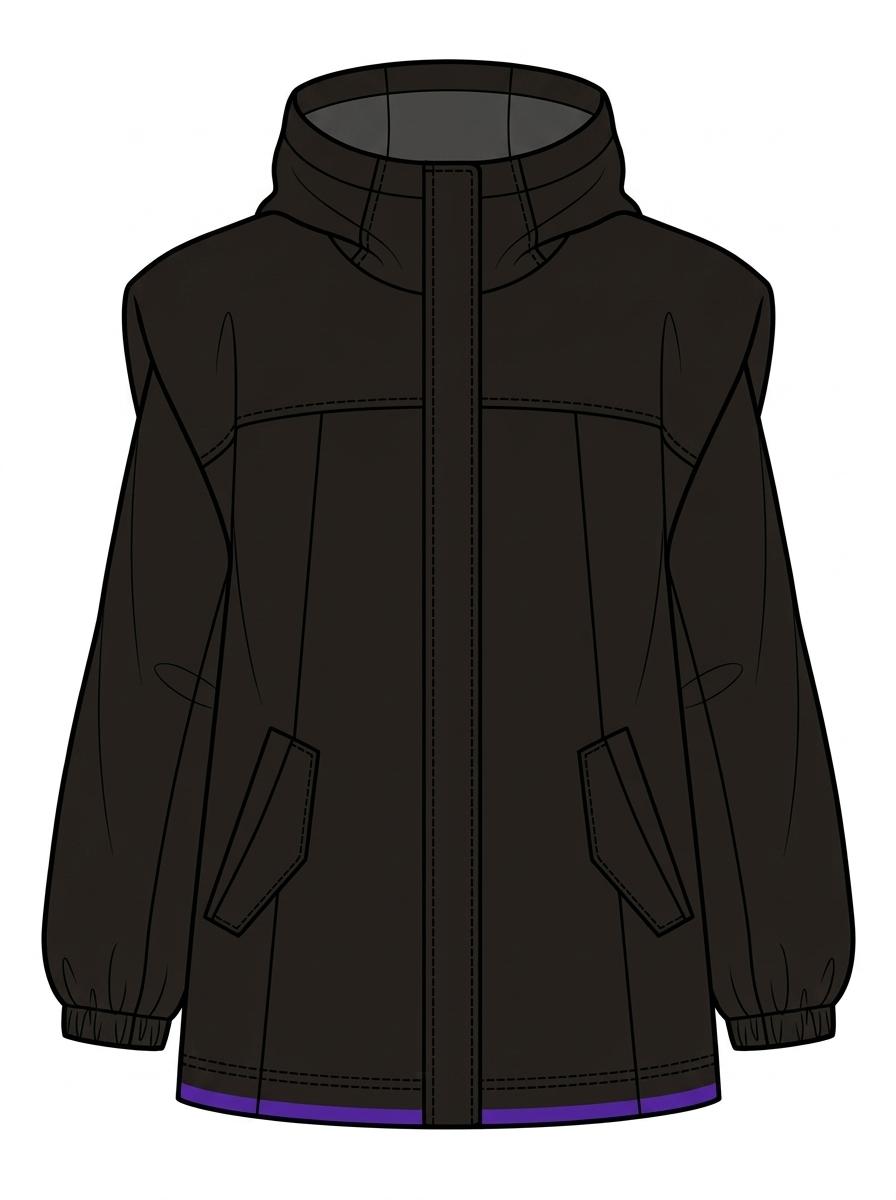
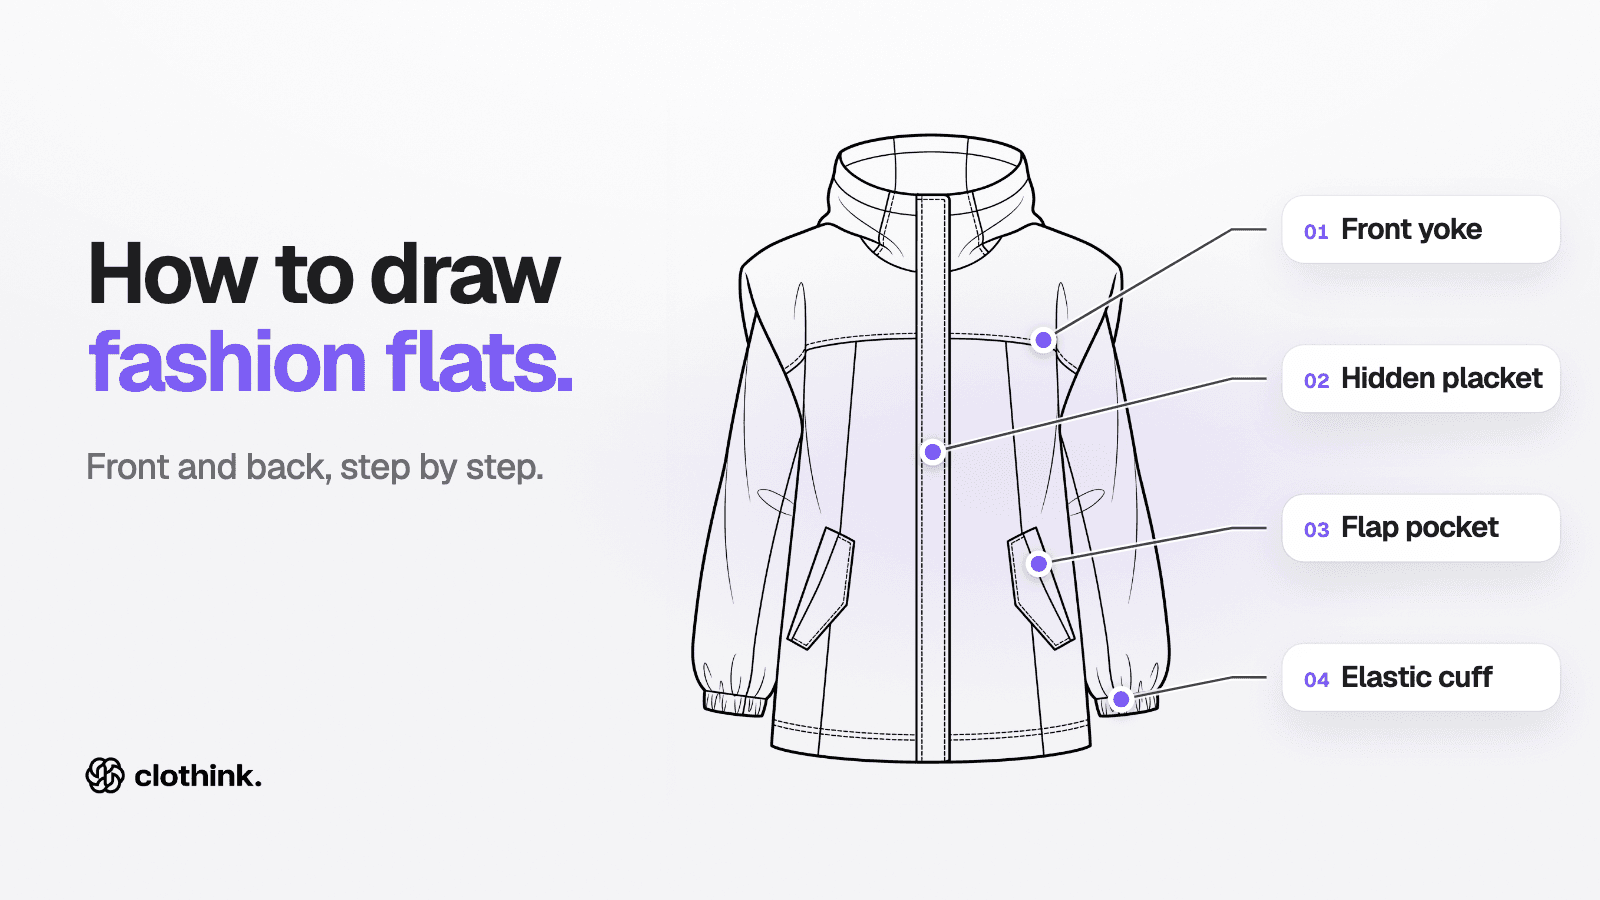
A good flat shows the garment’s visible construction clearly, so the factory has less to interpret. This one shows:
- A hood that runs into a concealed placket at centre front
- A front yoke, with two vertical panel seams below it on each side
- Angled flap pockets at the hip, with topstitching around the flaps
- Full sleeves gathered into elasticated cuffs
- A straight hem with a double row of topstitching
Both drawings come from the same design in clothink, which can also be used to create photoreal mockups and draft a tech pack. The garment stays connected as it moves from flat to mockup to factory, instead of becoming a folder of separate files.
Whatever tool you use, a production flat should have these things:
- Every important seam and panel line. If one is not drawn, the factory has to ask or guess, so draw it or explain it elsewhere in the tech pack.
- Topstitching as dashed lines, so the factory can see where it runs and how many rows there are.
- Closures where they really are. Zips, snaps and buttons in the right place, the right number and on the right side.
- Pockets, trims and hardware drawn clearly enough to tell a patch pocket from a welt pocket, or a drawcord from elastic.
- Proportions that match the garment. A cropped jacket should look cropped, and a wide leg should look wide.
- No shading, people or poses. They belong in the illustration or the mockup, not the flat.
Front and back flats: what goes on each
A factory needs at least a front and a back view. Draw them at the same scale and place them side by side, so details that run round the body can be matched.

Put the two anorak views side by side and three things stand out:
- What carries round the body lines up. The yoke seam sits at the same height front and back. The cuffs, the side seams and the double row of hem topstitching match on both views.
- The back has details the front cannot show. The hood’s centre-back seam and its topstitching, and the back panel seams running down from the yoke.
- Front-only details are left out of the back. No placket and no pockets, so nobody wonders whether the pockets go through to the back.
Whatever the garment, check the same things:
- The front shows the neckline or collar, the front closure, front pockets, front seams, darts and yokes, the cuffs and the hem.
- The back shows the back neck, back yokes and seams, darts, vents and pleats, back pockets, and the back of a hood or collar.
- Both views should agree. Side seams, a yoke or a pocket that shows on both should sit at the same height on both.
- Add a side view when depth matters, for example a side zip, side panels or the shape of a hood.
- Add an inside view when the construction inside matters, such as a lining, facings or inner pockets.
How to draw a fashion flat, step by step
These steps work on paper and in vector software. An AI generator does the first drawing for you, but the same checks still apply to what it draws.
1. Set up the outline and a centre line
Start with a vertical centre line, then block in the garment’s overall shape in proportion: how wide the body is against its length, and where the shoulders and hem sit. Many designers start from a technical flat template or a standard garment block here, so every style in a range shares the same proportions.
2. Draw one half: shoulders, body, sleeves and hem
Draw the shoulder line, the side seam, the sleeve and the hem on one side of the centre line only. Then mirror that half, with tracing paper on paper or a reflect tool in software, so both sides match exactly. Draw sleeves slightly away from the body so the side seam stays visible. For an asymmetrical garment, with an off-centre closure or a pocket on one side only, mirror the basic shape and draw the details that differ separately.
3. Add the collar or hood, closures and pockets
Draw the neckline and collar or hood, then the closure on its real side and at its real length, then the pockets. Count every button, snap and belt loop carefully: the quantities on the flat should agree with the construction notes and the bill of materials.
4. Add seams, topstitching and details
Add every important seam and panel line, then topstitching as dashed lines, one line for each row. Use a heavier line for the outline and lighter lines for seams and details, and keep each weight the same across the drawing.
5. Build the back view from the front
Copy the front outline, then change only what differs: the back neck, back yokes and seams, vents, back pockets and the back of the hood or collar. Starting from the same outline keeps the two views consistent.
6. Compare the views and check proportions
Put the front and back side by side. Check that side seams, yokes and pockets that wrap round the body sit at the same height on both, and that the proportions still match the garment you want made. Then run the checklist further down.

Three ways to make fashion flats
By hand
Paper and a fine pen still work for a first idea, and the steps above are the same. For a tech pack, scan the drawing and make sure it is clean enough to read when printed small.
In vector software
Most production flats are drawn in vector software: Adobe Illustrator, or free options such as Affinity and Inkscape. Our guide to the best clothing design apps compares them, with prices. Two habits save the most time: reflect one half instead of drawing both, and save a basic block for each product type, such as a hoodie or a shirt, so the next style only needs new details.
With an AI flat sketch generator
AI flat sketch generators draw a flat from a written description or a photo of a garment. That saves the drawing time, but the result still needs the same checks as a hand-drawn flat. Here is the process in clothink.
How to make a flat with AI
1. Describe the garment, detail by detail
The AI can only draw what it can read in your brief. Name the product, the fit and length, then every detail you want drawn. A brief like this gives a generator enough to work with:
Example brief: Hooded shell anorak, relaxed fit, hip length. Full-length zip under a concealed placket at centre front. Front yoke with two vertical panel seams below it on each side. Dropped, extended shoulders. Two angled flap pockets at the hip. Full sleeves gathered into elasticated cuffs. Straight hem with two rows of topstitching. Back view: a horizontal yoke at the same height as the front yoke, two vertical panel seams running down from it, and a centre-back hood seam with topstitching. Match the panel positions and proportions between the front and back. Colourway: black with a violet binding along the hem.
Then choose Flat as the sketch type. clothink has three: coloured (a filled colour drawing), flat (a black and white line drawing) and fashion (a stylised illustration). Pick your views too. Front and Back are the minimum for a factory, and Side and Inside can be added in the same run.
Each view is one drawing and uses one token at Standard detail, or two at High detail. So a front and back flat uses two tokens. The Free plan includes 10 starter tokens.
2. Or start from a photo
If the garment already exists, as a sample, a vintage piece or a reference you want to rework, upload one photo and leave the description empty. clothink turns the photo into a sketch. A photo cannot show what is hidden, such as the inside of a pocket or the lining, so add those details in the brief or after.
3. Check it, then fix only what is wrong
Read the drawing against your brief (the checklist below helps). If the whole sketch is off, type a change in Refine and it redraws. If only one part is wrong, such as a pocket or a collar, use Precise edit. It lets you target that part without redrawing the whole garment. Check the result to make sure the surrounding details stay consistent. It costs the same as redrawing the view, and it is on every plan.
4. Carry the flat forward
A flat is rarely the end of the job. In clothink the same sketch turns into a coloured version, a photoreal mockup and a tech pack, so you never redraw the garment.
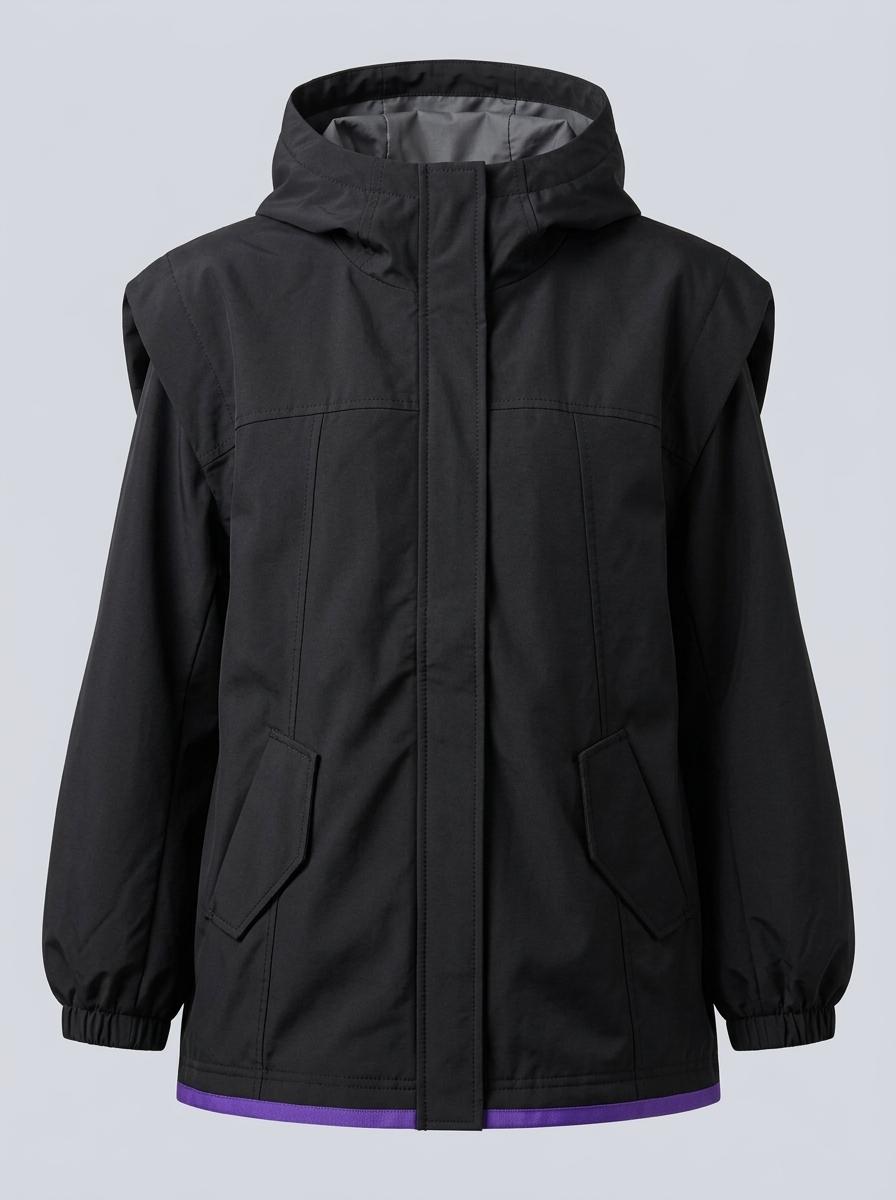
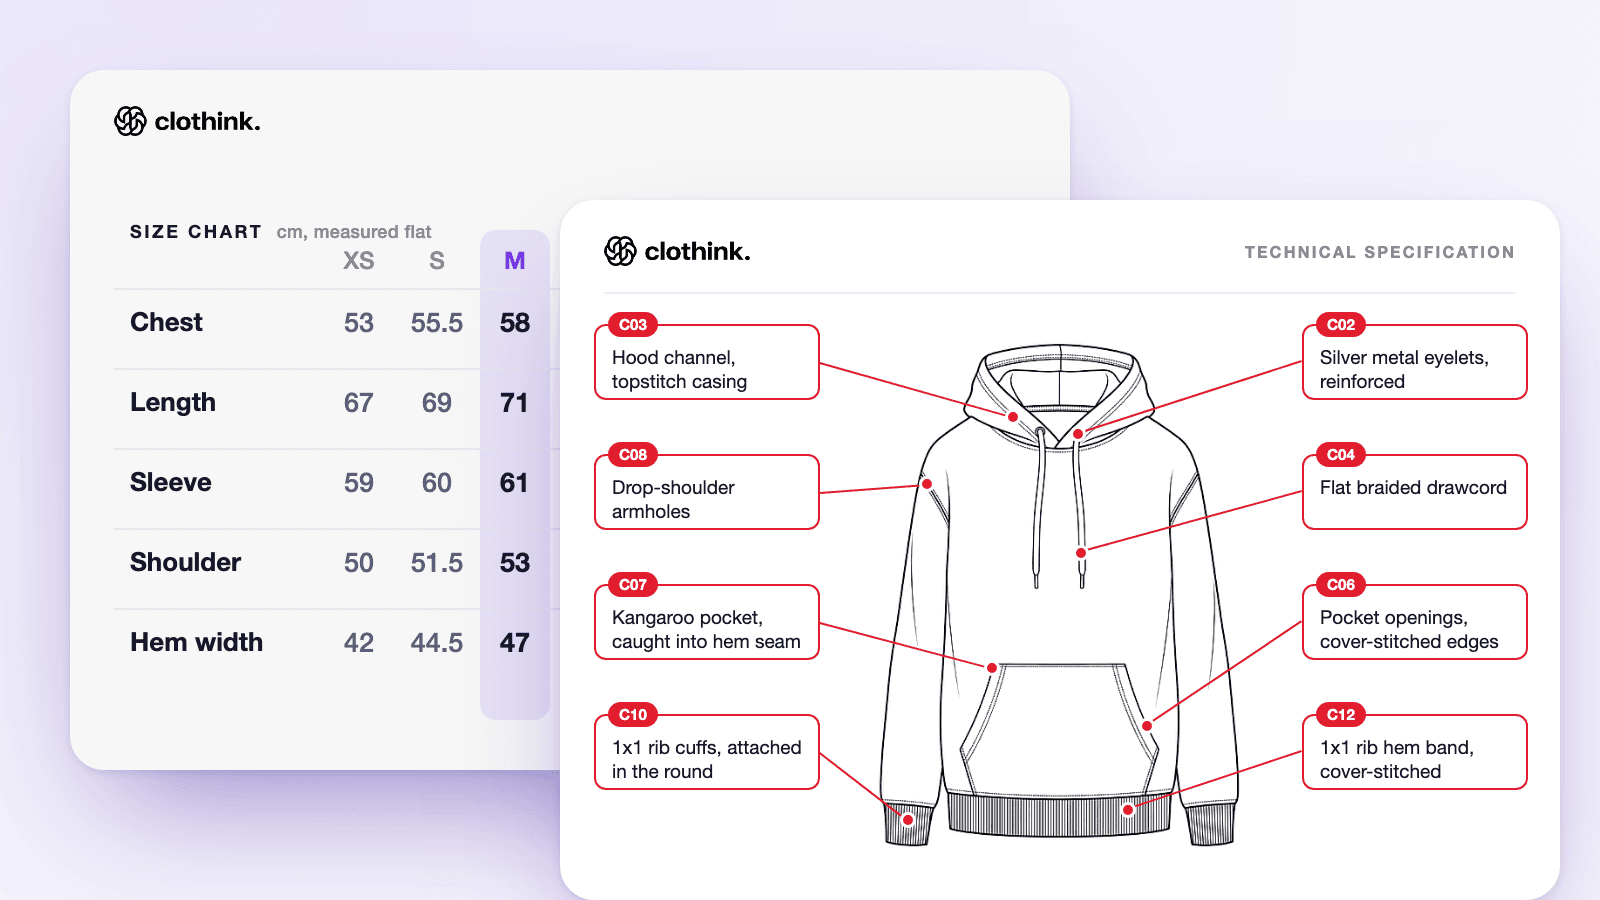
When you create a tech pack from the sketch, Auto-Complete reads the drawing and drafts the bill of materials, size chart, construction notes and numbered call outs. Clean flats give it the most to work from. Our hoodie tech pack example shows a finished pack page by page.
How to check a flat before it goes in a tech pack
Review every flat before it goes into a tech pack, whoever or whatever drew it. Run these checks:
- Does it match the brief, detail by detail? Tick off each feature you asked for: closure, pockets, seams, cuffs, hem.
- Do the front and back agree? A yoke, side seam or pocket that shows on both views should line up on both.
- Are the counts right? Count buttons, snaps, belt loops and rows of topstitching against what you want made.
- Would the closures work? A zip needs room to open, and buttons and buttonholes need to sit on the correct sides.
- Is anything there that you did not ask for? An extra seam or an invented trim will be sampled if it is in the drawing.
- Will the lines read at print size? Tech packs are often printed or viewed small. Thin, crowded lines get lost.
A flat cannot communicate every technical requirement on its own. Seam constructions may need detail drawings or call outs, while specifications such as stitch density, fabric composition and weight should be stated clearly in the construction notes or the bill of materials.
AI flat sketch generators compared
| Tool | Starts from | What you get | Free to try | Paid from |
|---|---|---|---|---|
| clothink | A description, one photo, or up to three reference pictures | Flat, coloured or fashion sketches; front, back, side and inside views; PNG, or SVG traced into real lines; then mockups and a tech pack from the same sketch | Free plan with 10 starter tokens; one flat view uses 1 token | £19 a month |
| AI Tech Packs (Flat Sketch) | A garment photo (front required, back optional) | Front and back flats as PNG or SVG | A free trial is advertised for its tech pack tool; the flat sketch page does not say what is free | $75 per seat a month, or one-time credits with no subscription; Student plan $35 a month |
| The New Black | A text description (a separate tool starts from a photo) | A flat sketch as PNG; SVG through a separate feature (10 credits) | Free credits when you sign up | $15 a month (200 credits) |
| Fashion Diffusion | A text description (a separate tool converts images) | Line art or coloured sketches | Free credits when you sign up | $15 a month (100 credits) |
Sources: AI Tech Packs pricing, The New Black flat sketch page and getting started, Fashion Diffusion sketch page. For mockup and design tools too, see our guide to the best AI fashion design tools.
PNG or SVG: which file do you need?
A factory needs a clear, accurate flat in your tech pack. It does not need to know which software drew it. The file type matters when someone will work on the drawing afterwards.
- A PNG is a picture made of pixels. It is fine in a tech pack PDF, a line sheet or a presentation.
- An SVG is a vector file: its lines stay sharp at any size and open in Illustrator, Affinity or Inkscape. How useful it is depends on how it was made. An SVG traced as filled outlines looks right but is awkward to change, because each line is a thin shape rather than a line.
Use an SVG if you or your designer will adjust the lines by hand, or if your factory or a client has asked for vector files.
Turn a flat into an SVG with real lines
In clothink, Download SVG on a flat opens Trace to SVG. It is free, and it traces your drawing into an SVG for Illustrator. Most of its lines become real lines instead of outlines, and the rest stay as shapes:
- Lines you can make thicker or thinner. A real line has a thickness, so the slider changes the whole drawing at once, and the file keeps the thickness you choose.
- Panels you can colour. Panels that the lines close round become shapes you can fill with colour.
- The look of your drawing kept. Details that cannot be rebuilt reliably as lines stay as shapes, so the drawing keeps its original appearance.
Here is a real trace of the anorak’s front flat, played back faster than it runs. In clothink a trace takes a minute or two, because every line is checked against your drawing. Move the slider when the replay finishes, and tick Colour the panels to see the shapes it found.
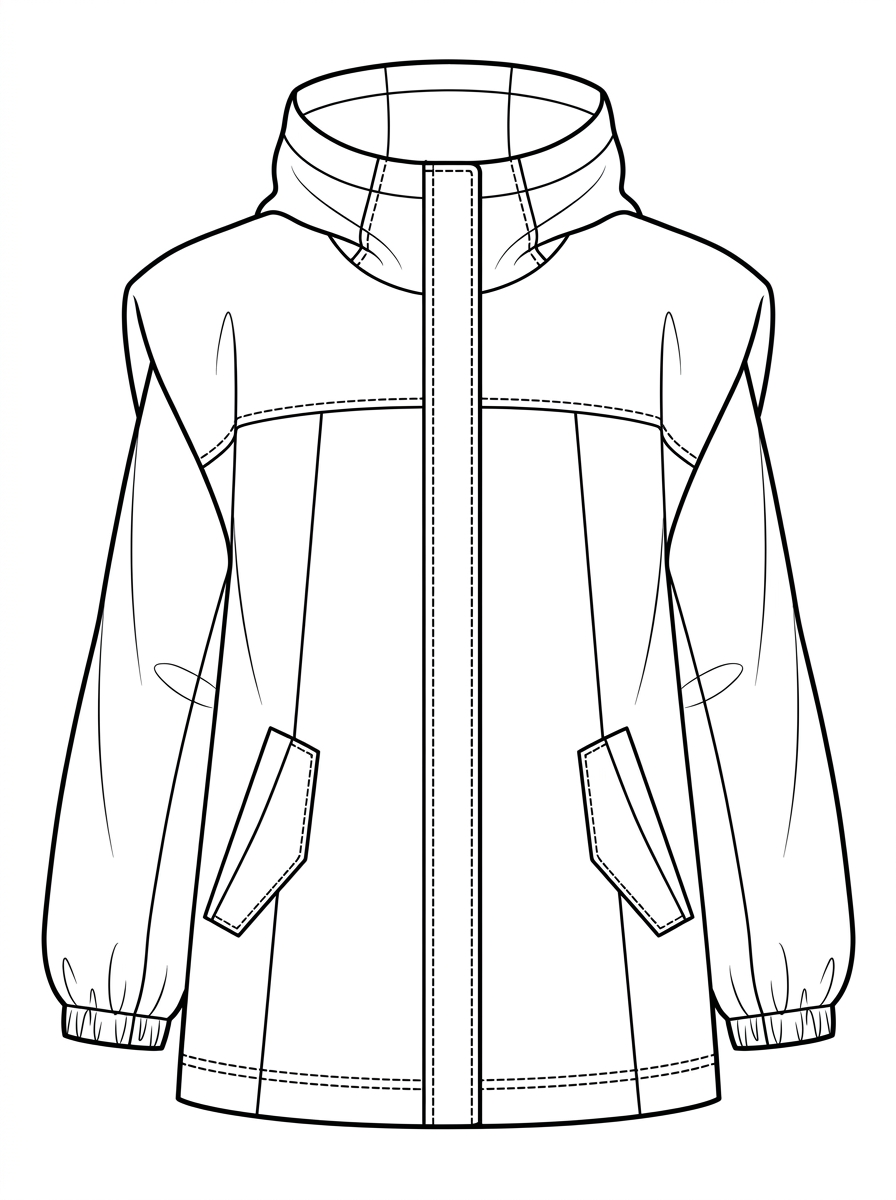
- Reading the drawing
- Finding the lines
- Checking each line against the drawing
- Finding the panels
Every line is checked against the drawing before it is kept.
Trace your own flat
Create a technical flat from a description or a photo, then use the free SVG trace to turn suitable linework into real lines. Free to start, with 10 starter tokens and no card.
A sketch with a print or shading keeps its lines as outlines instead, so it keeps its original appearance. A printed sketch is traced from the drawing before its print.
If drawing is what has held you back, our guide on how to design clothes when you cannot draw covers the rest of the process.
Frequently asked questions
What are fashion flats?
Fashion flats, also called technical flats, flat sketches or CADs, are two-dimensional line drawings of a garment as if it were laid flat. They show seams, pockets, closures and stitching from the front and back, with no model or shading. Factories use them to understand how the garment is made.
How do you draw a fashion flat?
Start with a centre line and the garment’s outline in proportion. Draw one half (shoulder, side seam, sleeve, hem) and mirror it. Add the collar or hood, closures and pockets, then seams and topstitching. Build the back view from the front outline, then compare the two views.
Do I need front and back flats?
Yes, for production. The back view shows yokes, vents, back pockets and closures that the front cannot. Add side or inside views when the garment has details there, such as a side zip or a lining.
Are flats drawn to scale?
They are drawn in proportion, so a cropped jacket looks cropped and a wide leg looks wide. They are not measured drawings. The exact measurements go in the size chart.
What line weights should I use?
Studios have their own standards, but the common approach is a heavier line for the outline, lighter lines for seams and details, and dashed lines for topstitching. What matters most is that every line still reads when the tech pack is printed.
Is there a free flat sketch generator?
Some tools let you try for free. clothink’s Free plan includes 10 starter tokens with no card, and a flat view uses one token at Standard detail, so a front and back flat uses two. The New Black and Fashion Diffusion give free credits when you sign up. Check what each free option lets you download.
Can I download a flat as an SVG?
Yes. In clothink, Download SVG on a flat traces it into an SVG for Illustrator, free, at a line thickness you choose. Most lines become real lines, and any it cannot rebuild reliably stay as shapes, and sketches with a print or shading keep their lines as outlines.
Can AI turn a photo into a flat sketch?
Yes. clothink and AI Tech Packs both turn a garment photo into a flat. A photo cannot show hidden details such as linings or the inside of a pocket, so add those yourself and check the drawing before you use it.
Make your first flat
clothink is an AI product development workspace for apparel, from first sketch to factory. Describe a garment or upload a photo to create front and back technical flats. Refine individual details with Precise edit, download an SVG with real lines where the drawing allows, create photoreal mockups and develop a tech pack to review before sharing it with your manufacturer.
Make your first flat free
Describe a garment or upload a photo. The Free plan includes 10 starter tokens with no card, and a front and back flat uses two.