· clothink
How to Build a Clothing Size Chart for Production: POMs, Grading & Tolerances
- Tech packs
- Product development
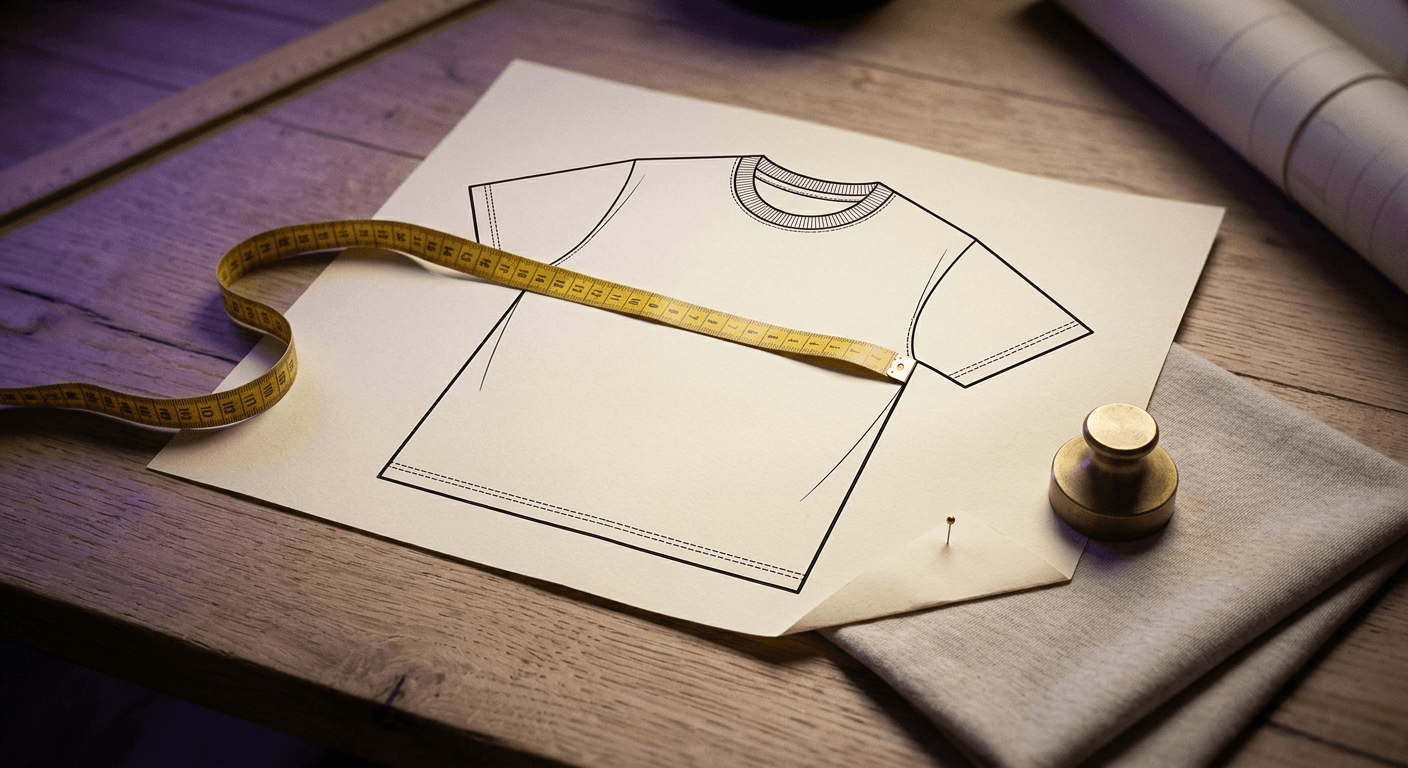
If a factory asks you for a size chart, they probably do not mean the chart your customers use to choose between S, M and L.
For production, they need to know what the finished garment should actually measure.
That means more than a chest and body length.
They need to know:
- what is being measured
- exactly where the measurement is taken
- what the base size should measure
- how each measurement changes across sizes
- how much production variation is acceptable
That document is more accurately called a garment measurement specification, although you will often hear it called a size chart or size spec.
If you are building your first tech pack, understanding this distinction is important. A garment can be beautifully designed and clearly illustrated, but if the sizing information is vague, the factory still has to make assumptions about fit. See our guide to AI tech packs for how size charts sit inside a complete specification.
In this guide
- Customer sizing vs production sizing
- Step 1: Decide what the base size should fit like
- Step 2: Decide where the base measurements come from
- Step 3: Turn the fit into garment measurements
- Step 4: Define your points of measure
- Step 5: Show how every POM is measured
- Step 6: Build the base-size specification
- Step 7: Grade the size range
- Step 8: Add tolerances
- Step 9: Make the sample — then be prepared to change the chart
- Step 10: Lock the approved sizing system
- What should the customer see?
- Can AI create the size specification?
- Before you send the size spec to a factory
Customer sizing and production sizing are different
Imagine you are developing a relaxed men's T-shirt in sizes XS–2XL. On your website, a customer might eventually see something like:
| Measure | S | M | L |
|---|---|---|---|
| Body chest | 91–96 cm | 97–102 cm | 103–108 cm |
That chart describes the person the garment is intended to fit. It does not tell the factory what the finished T-shirt should measure.
Your production specification might instead say: Medium half chest: 58 cm — measured flat, that gives the garment an approximate 116 cm chest circumference.
Those two numbers are not conflicting.
A person with a 100 cm chest might wear a garment measuring 116 cm around the chest because the additional room creates the intended fit. That difference between the body and the finished garment is part of what creates ease.
| Measure | Example (illustrative) |
|---|---|
| Body chest (wearer) | 100 cm |
| Intended ease (approx.) | ~16 cm |
| Finished garment chest (circumference) | 116 cm |
This gives us the first important distinction:
- Body size chart — describes the wearer.
- Garment measurement specification — describes the product.
- Customer size guide — helps the customer decide which size to buy.
They are related, but they are not interchangeable.
Step 1: Decide what the base size should fit like
Before building XS through 2XL, start with one size. This is your base size. For our example T-shirt, we will use Medium.
The important question is not: “What is a standard men's Medium?” There is no single universal Medium.
The better question is: “Who is our Medium designed to fit, and how do we want it to look on them?”
Suppose our target wearer has an approximate 100 cm chest and we want a relaxed silhouette. That already gives us more useful information than the letter M. We now need to turn that fit intention into actual garment measurements.
Step 2: Decide where the base measurements come from
This is the part many first-time brands find hardest. How do you know whether the Medium chest should be 56 cm, 58 cm or 62 cm? There are several legitimate starting points.
An existing approved block
Established brands often develop products from blocks that already reflect their fit. A block is effectively a proven pattern or fit foundation that can be adapted into new styles. If your brand already has a T-shirt customers like, that is a much stronger starting point than rebuilding the sizing from zero every season.
A well-fitting reference garment
For a new brand, a physical reference can be extremely useful. Perhaps you own a T-shirt with exactly the chest width and body length you want. Measure it. That does not mean copying the garment — it means using a real product to help define fit and proportion.
A pattern cutter or garment technologist
For more complex products or where fit is particularly important, professional technical input is difficult to replace. An experienced pattern cutter can translate the intended silhouette and target body into a workable base pattern.
Body measurement data
Body sizing information can help establish the population the garment is intended to fit. But body measurements alone do not tell you the finished dimensions of the product. The garment still needs an intended ease, silhouette and pattern.
In practice, brands often use a combination of these inputs. The important thing is not to download a generic Medium size chart from the internet and assume it is automatically right for your product.
Step 3: Turn the fit into garment measurements
Let's say we have reviewed some reference garments and established the following starting measurements for our relaxed Medium T-shirt:
- Half chest: 58 cm
- Body length: 72 cm
- Across shoulder: 52 cm
- Sleeve length: 22 cm
- Half hem: 58 cm
These measurements begin to define the silhouette. If we increase the chest and shoulder, the product becomes more oversized. If we shorten the body while keeping the width, it becomes boxier. If we narrow the hem, we change how the garment falls.
They are part of the design. Measurements are not just technical information added after the design is finished.
Step 4: Define your points of measure
A measurement value is only useful if everybody measures it in the same place. That is where POMs — points of measure — come in.
Writing “Chest: 58 cm” is not quite enough. Where should the factory measure? Directly beneath the armhole? A set distance below it? Across the fullest part?
A better specification might say: Half chest — measured straight across 2.5 cm below armhole. The exact measuring convention may differ between companies. What matters is that the instruction is unambiguous and repeatable.
Typical T-shirt POMs
For our example, we might include:
| POM | Measurement method |
|---|---|
| Half chest | Straight across below armhole |
| Body length | HPS to bottom hem |
| Across shoulder | Shoulder point to shoulder point |
| Sleeve length | Shoulder seam to sleeve edge |
| Half hem | Straight across bottom opening |
| Neck width | Straight across neckline |
| Front neck drop | HPS line to front neck seam |
| Bicep | Straight across sleeve below armhole |
| Sleeve opening | Straight across sleeve opening |
You may use more or fewer POMs depending on the garment. A simple T-shirt does not need the same level of measurement control as a technical jacket or tailored trouser. More measurements do not automatically create a better specification — measure what you need to control the fit and construction of the product.
Step 5: Show how every POM is measured
Text helps. A drawing is better.
Your technical flat should include arrows showing where each important POM is taken — for example: A — Half chest; B — Body length from HPS; C — Across shoulder; D — Sleeve length; E — Half hem.
That gives the designer, pattern cutter, factory and quality-control team the same visual reference. It also reduces arguments later. If the production garment is measured differently from the approval sample, you need to be able to establish which measuring method is correct.
A good size specification therefore combines: POM name + measurement value + measuring method + diagram.
Step 6: Build the base-size specification
We now have enough information to create the Medium column:
| POM | Tol. | M |
|---|---|---|
| Half chest | ±1.0 cm | 58 |
| Body length | ±1.0 cm | 72 |
| Across shoulder | ±0.7 cm | 52 |
| Sleeve length | ±0.7 cm | 22 |
| Half hem | ±1.0 cm | 58 |
| Neck width | ±0.5 cm | 18.5 |
At this stage, the table is still a development specification. We have not yet proved that the fit is right. That happens when the garment is sampled and reviewed.
Step 7: Grade the size range
Once the base size is established, you need to decide how the garment changes across XS–2XL. This is the grade.
Suppose we want the half chest to increase by 3 cm between sizes. That gives us:
| Size | XS | S | M | L | XL | 2XL |
|---|---|---|---|---|---|---|
| Half chest | 52 cm | 55 cm | 58 cm | 61 cm | 64 cm | 67 cm |
But not every measurement should increase by 3 cm. Body length might change by 2 cm. Sleeve length by 1 cm. Neck width by 0.5 cm.
| POM | Tol. | XS | S | M | L | XL | 2XL |
|---|---|---|---|---|---|---|---|
| Half chest | ±1.0 | 52 | 55 | 58 | 61 | 64 | 67 |
| Body length | ±1.0 | 68 | 70 | 72 | 74 | 76 | 78 |
| Across shoulder | ±0.7 | 48 | 50 | 52 | 54 | 56 | 58 |
| Sleeve length | ±0.7 | 20 | 21 | 22 | 23 | 24 | 25 |
| Half hem | ±1.0 | 52 | 55 | 58 | 61 | 64 | 67 |
| Neck width | ±0.5 | 17.5 | 18 | 18.5 | 19 | 19.5 | 20 |
The useful principle is that every POM can have its own grade rule.
A graded size chart is not the same as a graded pattern
The measurement table describes the finished dimensions you want to achieve across the range. A pattern cutter still needs to translate the approved base pattern into correctly graded patterns for each size. That process involves changing the pattern at multiple points while preserving the intended shape and proportion of the garment. A spreadsheet formula alone does not replace proper pattern grading.
Step 8: Add tolerances
In mass production, not every garment will measure exactly 58.0 cm across the chest. Fabric moves. Cutting varies slightly. Sewing, pressing and finishing introduce natural variation. A tolerance defines how much variation is acceptable.
For example: Half chest: 58 cm ±1 cm. A finished Medium measuring 57.4 cm would therefore still sit within the specification.
But tolerances should be considered by POM. A 1 cm difference across a large body width may have relatively little effect. A 1 cm difference on a collar or pocket position could be very visible.
The right tolerance balances two things: can the factory realistically achieve it? And would that variation materially affect the fit or appearance?
Overly generous tolerances make the specification meaningless. Unrealistically tight tolerances create unnecessary production failures. Vague measurements are a common reason samples come back wrong — see tech pack mistakes that cause sample problems.
Step 9: Make the sample — then be prepared to change the chart
Now our first Medium T-shirt arrives. We measure it. Half chest: 58 cm — exactly as requested.
So technically, the factory has made the chest correctly. But when the T-shirt goes onto the fit model, it feels too narrow. That tells us something important: the factory may not be wrong — our specification may be wrong.
Perhaps the better measurement is actually 60 cm. We update the base size. Then we review whether the surrounding sizes and grade rules also need changing.
This is why sizing cannot be completely solved in a spreadsheet. The measurement specification creates the product you want the factory to make. The fit sample tells you whether that product is actually right. The process is iterative: specify → sample → measure → fit → adjust → approve.
Step 10: Lock the approved sizing system
Once the fit has been approved, the measurements become much more valuable. They are no longer just an initial guess — they are part of your brand's fit knowledge.
Future T-shirts might use the same block. A sweatshirt could inherit parts of the fit philosophy. New products can be compared against previous approved styles. Over time, you stop starting every product from zero. This is where brands begin to develop a more consistent sizing system.
What should the customer see?
Your customer usually does not need the entire factory measurement specification. They need enough information to choose the right size — body measurements such as chest, waist, hip and height.
You may also choose to publish key finished garment measurements. If you do, label them clearly. A customer with a 100 cm chest may see that your Medium T-shirt has a 116 cm finished garment chest. Without explanation, that could sound enormous. With the context that the product is deliberately relaxed, it makes sense.
The key is not to mix body measurements and garment measurements without explaining which is which.
Can AI create the size specification?
AI can make this process much faster.
For example, if you are developing a men's relaxed T-shirt with Medium base size and XS–2XL, an AI-assisted system can help suggest relevant POMs, base measurements, grade increments, tolerances and a complete initial size table.
Size chart demo
| Measurement | Grade | Tol. | XS | S | M | L | XL | 2XL |
|---|---|---|---|---|---|---|---|---|
| Half chest | +2 | ±1.0 | 52 | 55 | 58 | 61 | 64 | 67 |
| Body length | +2 | ±1.0 | 68 | 70 | 72 | 74 | 76 | 78 |
| Across shoulder | +2 | ±0.7 | 48 | 50 | 52 | 54 | 56 | 58 |
| Sleeve length | +2 | ±0.7 | 20 | 21 | 22 | 23 | 24 | 25 |
| Half hem | +2 | ±1.0 | 52 | 55 | 58 | 61 | 64 | 67 |
| Neck width | +2 | ±0.5 | 17.5 | 18 | 18.5 | 19 | 19.5 | 20 |
That is useful because building every table manually takes time, particularly when you are starting from a blank tech pack. But the generated numbers are still a starting point. AI does not automatically know your approved block, your customer's body shape, the exact fit you want, how your chosen fabric will behave, or what your fit sample will reveal.
The final sizing still needs technical review and physical validation. In clothink, garment type, fit, demographic, size system and size range can be used to create an editable first draft of the measurement specification. POMs, base measurements, grading and tolerances can then be reviewed and adjusted as part of the wider tech pack — alongside the guidance in our tech pack software comparison and factory-quote tech pack guide.
The useful role of AI is not: “Tell me the correct size chart.” It is: “Give me a structured starting point so I don't have to build the specification from zero.”
Before you send the size spec to a factory
Check that:
- the base size is clearly identified
- body measurements and garment measurements are not mixed
- every important POM has a clear name
- measurement diagrams are included
- the base measurements reflect the intended fit
- grade rules have been reviewed rather than applied blindly
- tolerances are appropriate to each POM
- units are consistent
- the correct size range is shown
- the specification is on the latest product revision
And most importantly: make sure the chart describes the product you actually want to make.
If you are still building your first pack from scratch, our guide for startup clothing brands walks through how concept, references and specs come together before sampling. For template vs dedicated tech pack software, see when a spreadsheet stops being enough.
A good size chart is really a fit system
A garment size specification is not simply a table that gets added to a tech pack because the factory expects one. The numbers define the product. Change the chest and you change the silhouette. Change the shoulder and you change how the garment hangs. Change the grade and you change how the product fits across your customer base.
The process therefore starts long before the spreadsheet. Define who the garment is for. Decide how it should fit. Build the base size. Specify exactly how it should be measured. Grade it deliberately. Allow sensible production tolerances. Then validate it on the physical sample.
The labels may ultimately still say XS, S, M, L and XL. What makes those sizes work is everything underneath.
Build your first graded size chart in clothink
Set garment type, fit and size range — then review and edit POMs, grades and tolerances inside your tech pack before you send specs to a factory.
Frequently asked questions
What is the difference between a customer size chart and a production size chart?
A customer size chart describes the body measurements a wearer is expected to have — it helps someone choose S, M or L. A production size chart (garment measurement specification) describes finished garment dimensions, POM locations, grades and tolerances for the factory. They are related but not interchangeable.
What is a POM in a garment size chart?
POM stands for point of measure — a named measurement with a defined method (for example, half chest measured straight across 2.5 cm below the armhole). Without a POM definition, two people can measure the same garment differently and both believe they are correct.
What is grading in apparel sizing?
Grading is how each POM changes from one size to the next. Half chest might increase by 3 cm per size while sleeve length increases by 1 cm. Each POM can have its own grade rule. A graded measurement table is not the same as a graded pattern — the pattern cutter still translates approved base patterns into each size.
What are tolerances on a size spec?
Tolerances define acceptable production variation — for example, half chest 58 cm ±1 cm. They balance what a factory can realistically achieve against what variation would materially affect fit or appearance. Tighter is not always better.
Can AI write a clothing size chart for production?
AI can draft a structured starting point — POMs, base measurements, grades and tolerances — from garment type, fit and size range. The numbers still need technical review and physical validation on a fit sample. AI does not replace your approved block, fabric behaviour or fit approval.
See clothink pricing for plans that include tech pack editing and AI-assisted size charts.